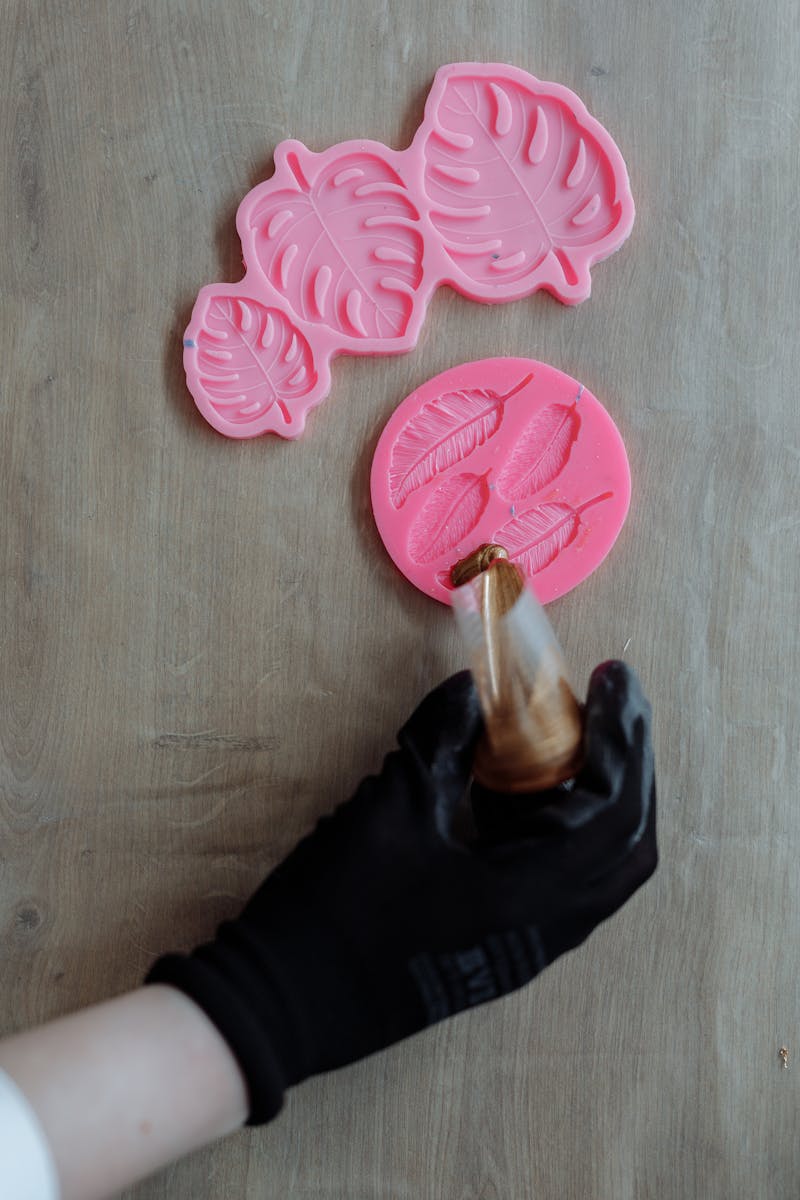
The possibilities of sublimation printing are endless—including the question you’ve been asking yourself: can you use it to sublimate on silicone? The answer is a resounding yes! This blog post will explore how to successfully use sublimation to make beautiful prints on silicone. Whether you’re aiming for custom wristbands with your logo or cute key-chains personalized with a fun message, with sublimation printing and a few simple steps, your creations will be ready in no time. Silicone has the perfect smoothness and heat resistance, making it ideal for sublimation printing. This guide will walk you through the steps of sublimate on silicone so you can get started right away!
Material Required for Sublimating on silicone.
Sublimation inks:
Sublimation inks are special inks designed to be used with a heat press and a silicon substrate. The inks are transferred to the substrate using heat and pressure, and the resulting image is permanent and will not fade over time.
Silicone substrate:
A silicone substrate is a material designed to be used with sublimation inks. Silicone substrates are available in various shapes and sizes, and they can be used to create various products, including phone cases, mugs, and keychains.
Heat press:
A heat press is a machine used to apply heat and pressure to a substrate to transfer an image or design onto it. Heat presses are available in various sizes and styles and can be purchased from most craft stores or online retailers.
Release paper:
A release paper is a thin sheet of paper placed between the heat press and the substrate to prevent the two from sticking together. Release papers are available at most craft stores or online retailers.
Cutting machine (optional)
A cutting machine is an optional piece of equipment that can be used to cut the silicone substrate into the desired shape or size before printing. Cutting machines are available at most craft stores or online retailers.
Oven (optional):
An oven is optional equipment that can cure the sublimated image on the silicon substrate. Ovens are available at most home improvement stores or online retailers.
Steps of sublimating on silicone
Choose Your Design:
First, you will need to have a design ready to print. You can start with an image or logo that you already have or create something entirely new. Your design must be in the proper format to be printed on silicone – preferably as a vector file (EPS, AI, or PDF).
Prepare Your Silicone:
Before printing your silicone items, make sure they’re clean and free of dust and debris. Wipe them down with a soft cloth, then use rubbing alcohol to remove any residue.
Heat Transfer Paper:
Once your silicone items are clean, it’s time to prepare the transfer paper. This paper is designed to absorb the ink from your printer and transfer it to your silicone. Cut the paper slightly larger than the item you’re printing onto and place it on a flat surface.
Print Your Design:
Now you can print your design onto the transfer paper using a sublimation printer. For best results, you’ll want to ensure your image is facing the right way before printing – this will ensure that the design appears correctly on your finished product.
Heat Press:
Place your printed transfer paper onto the silicone item and put it into the heat press. Set the temperature and time according to the manufacturer’s instructions, as this will vary depending on your equipment and the type of silicone item you’re printing onto.
Final Touches:
Once your design is printed, carefully remove the transfer paper and admire your work! If needed, you can use a small brush to touch up any areas that may have been missed during the transfer process.
FAQs:
Can I use regular ink for sublimation printing on silicone?
No, regular ink will not work. You will need to use special sublimation inks designed to be used with a heat press and a silicon substrate.
How long does it take to print onto silicone?
The amount of time it takes to complete the sublimation printing process will depend on the type of silicone item you are printing onto and the size and complexity of your design. Generally speaking, it should take between 10-20 minutes to complete.
Can I use any heat press for sublimation printing?
No, you will need a heat press specifically designed for sublimation printing. This type of heat press can reach higher temperatures and more tightly control the pressure, which is essential for successful sublimation printing.
Do I need to use an oven for sublimation printing on silicone?
An oven is optional equipment that can cure the sublimated image on the silicon substrate. Ovens are available at most home improvement stores or online retailers. However, they are unnecessary for printing, and a heat press will work fine.
Are there any special considerations I should take when printing on silicone?
Yes, it’s essential to ensure the silicone surface is clean and free of dust and debris before printing. In addition, make sure to set your heat press to the proper temperature and time for the silicone item you are printing. Finally, use a sublimation printer and special sublimation inks for the best results.
Sublimation printing on silicone is a great way to add unique and eye-catching designs to your products. You can quickly achieve professional-quality results by following the above steps and using the right equipment and supplies. With a bit of practice, you’ll be able to create beautiful designs that stand out for years. Sublimating on silicone may seem complicated initially, but with a few simple steps, anyone can master this technique in no time! Start by preparing your image file. Follow our guide above for applying heat press tape, attaching sublimation paper, and pressing your design onto silicone items. With patience and practice, you’ll be able to create beautiful custom pieces in no time!

