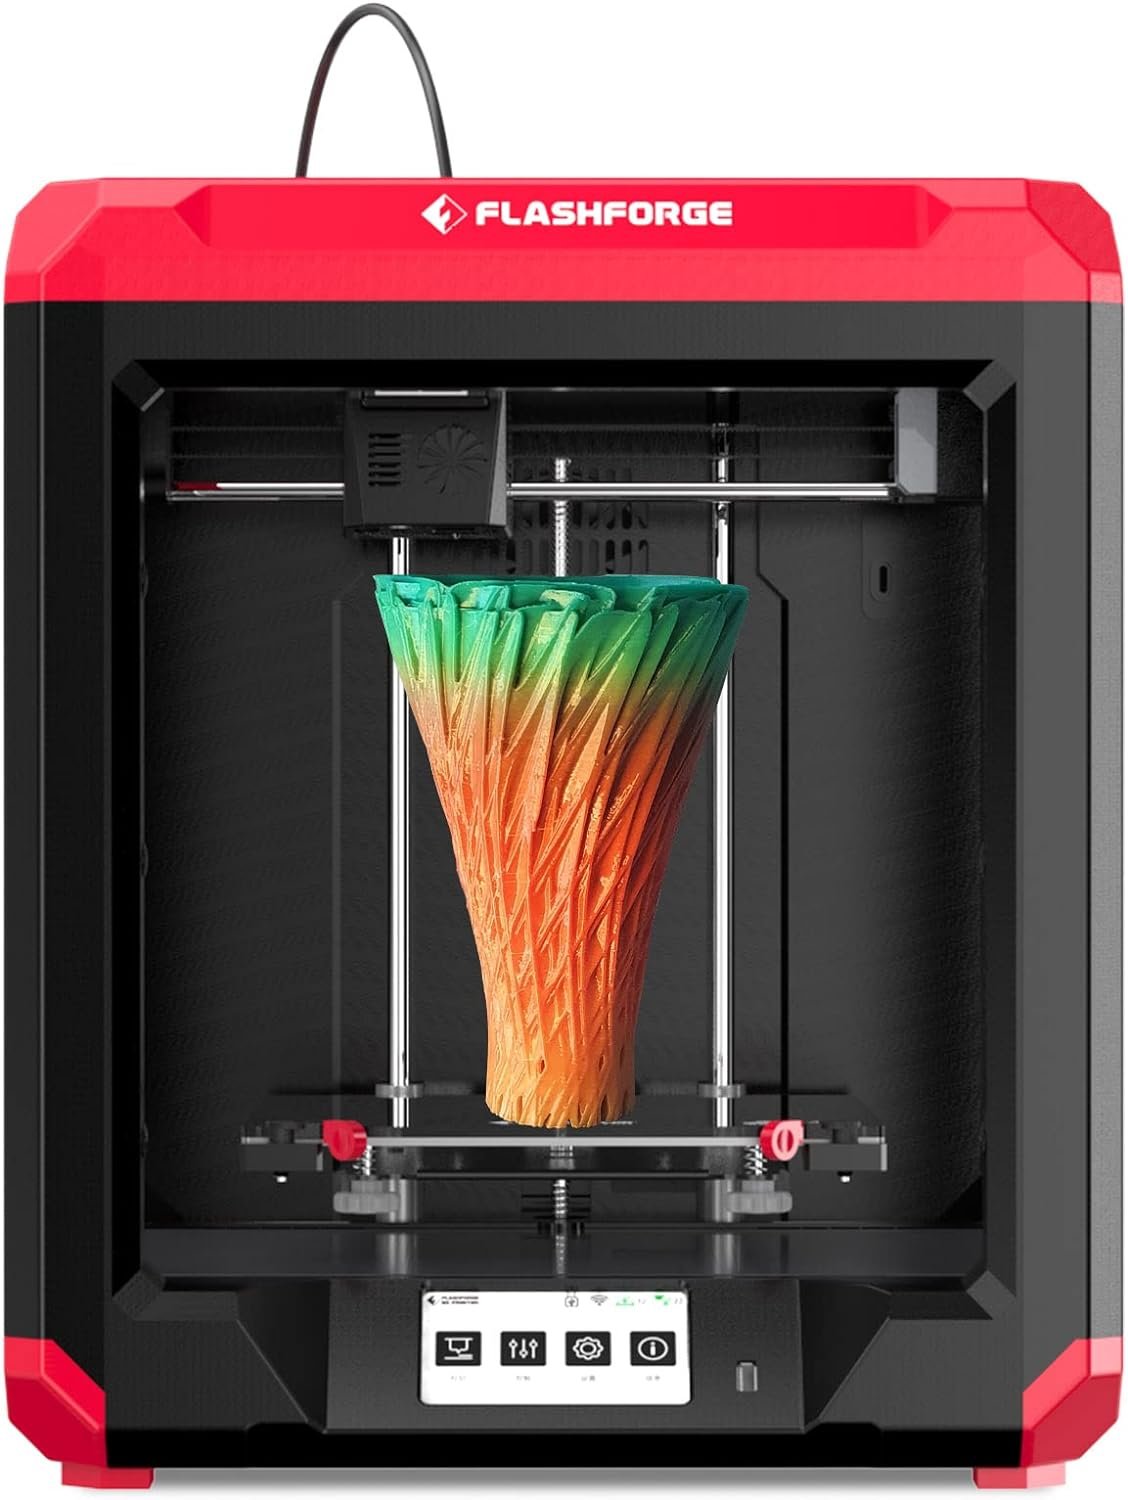
With the rise of 3D printing, more and more people are becoming interested in this exciting technology. 3D printing allows you to bring your ideas to life and create objects from scratch, but it also comes with challenges. One of the biggest challenges beginners face is to remove 3d Print From Bed Flashforge, especially when using a Flashforge printer.
If you’re new to 3D printing, it’s important to understand the significance of removing prints from the bed properly. A well-maintained print bed is essential for successful prints, as it provides a stable base for the print and ensures that the layers adhere properly. Failing to remove prints correctly can result in damaged prints or a damaged print bed, which can be expensive to repair or replace.
In this blog post, we’ll guide you through removing 3d Print From Bed Flashforge. By following our tips and tricks, you can easily remove prints and maintain a clean and well-functioning print bed.
Remove 3d Print From Bed Flashforge:
Tools and Materials Needed:
You’ll need a few tools and materials to successfully remove 3D prints from a Flashforge print bed. Here are some of the essential items you’ll need:
Scraper:
A scraper is one of the most important tools to remove prints from a Flashforge bed. Using a scraper with a flat edge is essential to avoid damaging the bed or the print. Some users prefer a metal scraper, while others prefer a plastic one.
Spatula:
A spatula is another useful tool for removing prints from a Flashforge bed. It’s especially helpful when dealing with prints that are difficult to remove with a scraper, such as prints with intricate shapes or thin edges. A spatula with a thin, flexible blade is ideal for this purpose.
Cleaning Solution:
Depending on the material you’re printing with, you may need a cleaning solution to remove residue from the bed after removing a print. There are several options for cleaning solutions, such as rubbing alcohol or a specialized cleaning solution designed for 3D printing beds.
Gloves:
While gloves aren’t strictly necessary, they can be helpful when working with cleaning solutions or to protect your hands from sharp edges. Disposable nitrile gloves are a popular choice, as they are comfortable, durable, and affordable.
Read more about: How To Remove Stringing From 3d Prints:
Preparing the Print Bed:
Before attempting to remove a print from a Flashforge bed, it’s essential to prepare it properly. Here are the steps you should take to prepare the bed:
Turn off the Printer:
The first step is to turn off the printer and let the bed cool down. Attempting to remove a print while the bed is still hot can be dangerous and may damage the print or the bed.
Remove Loose Material:
Once the bed has cooled down, use a scraper or spatula to remove any loose material from the bed. This may include small pieces of leftover filament or plastic from previous prints.
Check the Bed Level:
It’s important to ensure the bed is level before removing a print. If the bed is not level, removing the print may damage the bed, or the print can be more difficult. Use a leveling tool or follow the instructions in your printer manual to ensure the bed is level.
Wear Protective Gear (Optional):
Depending on the cleaning solution you plan to use, you may want to wear protective gear such as gloves or a mask to avoid any potential health hazards.
Removing the Print:
Now that you’ve prepared the bed, it’s time to remove the print. Here are the steps to follow:
Use the Scraper:
Using a scraper to gently pry the print from the bed, starting at the corner of the print. Work slowly and carefully to avoid damaging the bed or the print. If the print doesn’t come off easily, gently twist the scraper to loosen it.
Use the Spatula:
If the print is still difficult to remove with the scraper, you can use a spatula to help loosen it. Insert the spatula between the print and the bed and use a gentle twisting motion to loosen the print. Be careful not to force the spatula too far under the print, as this can damage the bed or the print.
Clean the Bed:
Once you’ve successfully removed the print, use a cleaning solution to wipe down the bed and remove any residue. This will help ensure the bed is clean and free of any debris that could affect the next print. Be sure to follow the manufacturer’s instructions for your cleaning solution.
Repeat as Necessary:
If you have multiple prints on the bed, repeat the process for each print until the bed is clear. It’s important to avoid forcing the scraper or spatula under the print, as this can damage the bed or the print.
Read also: How Much Does It Cost To 3d Print A Phone Case:
Tips for Preventing Print Bed Adhesion Issues:
While it’s important to know how to remove a print from a Flashforge bed, it’s even better to prevent the issue from happening in the first place. Here are some tips to help prevent print bed adhesion issues:
Level the Bed Properly:
As mentioned earlier, ensuring your bed is properly leveled before starting a print is important. A poorly leveled bed can cause issues with adhesion and may result in a failed print or a print that’s difficult to remove.
Use the Correct Bed Material:
Different bed materials work better for different types of filaments. For example, a glass bed may work better for PLA, while a PEI bed may work better for ABS. Make sure you’re using the correct bed material for the filament you’re using.
Clean the Bed Before Each Print:
Before starting a new print, make sure to clean the bed thoroughly. Use a cleaning solution to remove any debris or residue from previous prints. This will help ensure good adhesion for your new print.
Use a Raft or Brim:
If you’re having trouble with adhesion, try using a raft or brim. This creates a larger surface area for the print to adhere to, which can help prevent the print from detaching from the bed.
Adjust the Bed Temperature:
Different filaments require different bed temperatures. Make sure you’re using the correct bed temperature for the filament you’re using. If you’re having trouble with adhesion, try adjusting the bed temperature slightly.
FAQs:
How do you get PLA off a 3D printer bed?
To remove PLA from a 3D printer bed, you can use a spatula or scraper tool to gently pry the print off the bed. You can also try using a cleaning solution or rubbing alcohol to help loosen the print.
How do I get my 3D printer to print off my bed?
To get your 3D printer to print off the bed, ensure the bed is properly leveled and cleaned before starting a print. Also, ensure you use the correct bed material and temperature for the filament.
How long after the 3D print can I remove it?
The time you should wait before removing a 3D print from the bed depends on several factors, such as the print size and the filament material. Generally, it’s recommended to wait until the print has cooled down completely before attempting to remove it from the bed.
How do you lift an object from a print bed?
To lift an object from a print bed, you can use a spatula or scraper tool to gently pry the print off the bed. Do this slowly and carefully to avoid damaging the print or the bed.
What is a good bed temperature for PLA?
The recommended bed temperature for PLA is typically around 60-70°C. However, it’s important to check the manufacturer’s recommendations for the specific filament you’re using, as different filaments may require different bed temperatures.
Removing a 3D print from a Flashforge bed can be a frustrating experience, but it’s necessary if you want to continue creating quality prints. Following the steps outlined in this guide, you can safely and easily remove prints from your Flashforge bed without damaging the bed or the print.
Additionally, by following the tips for preventing print bed adhesion issues, you can reduce the need for print bed removal altogether. Taking care of your print bed and ensuring proper adhesion can lead to a better printing experience and higher-quality prints.

